You can have your emails automatically forwarded to another address. You can forward all of your new messages by creating a redirect rule in Outlook Web App on Office 365.
Procedures:- Login Outlook Web App
- Click the Gear icon
 -> Options -> Organize Email -> Inbox Rules.
 - Click the New icon
 and select "Create a new rule for arriving messages..."
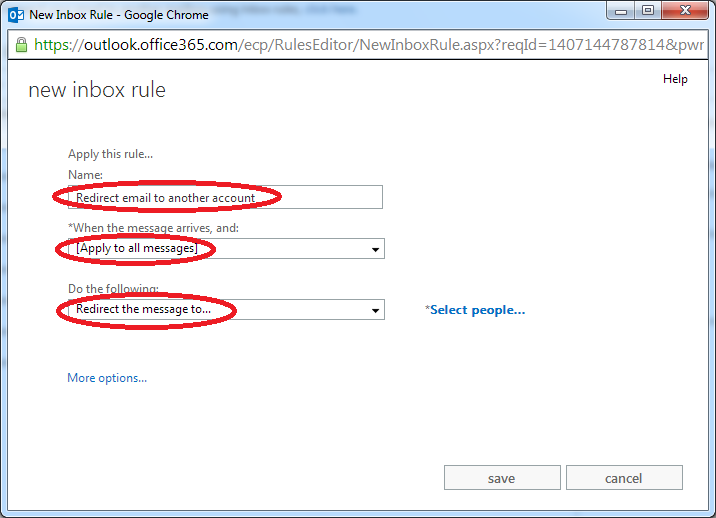
 - In the Name field, enter the name of this rule. (e.g. Redirect email to another account)
- From the *When the message arrives, and: field, choose "Apply to all messages"
- From the Do the following: field, choose "Redirect message to..."

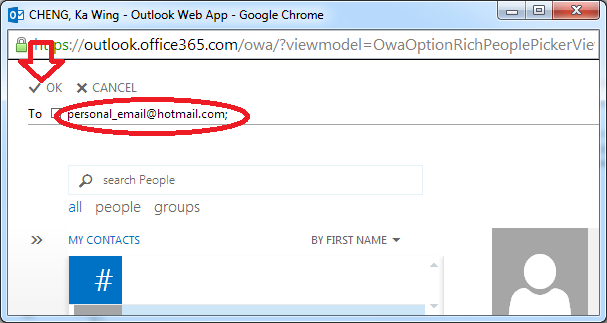
- A pop-up windows will be shown. Enter the email address of account you want to receive the emails. Then Click "OK"

- Then click Save
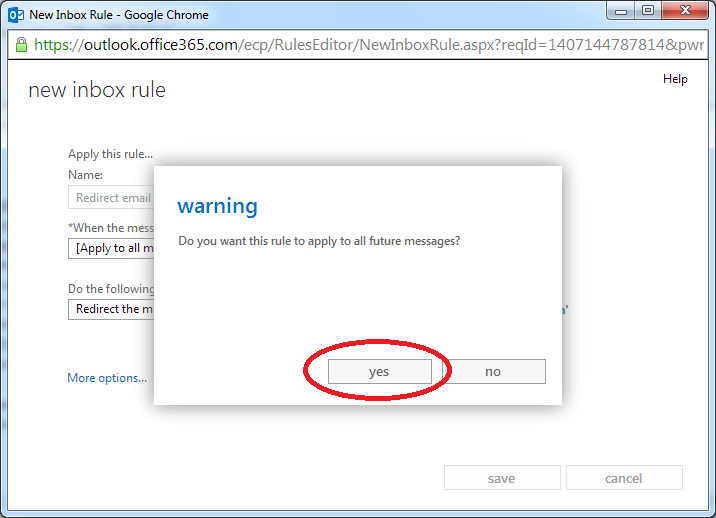
- Click Yes, when the warning message prompt.

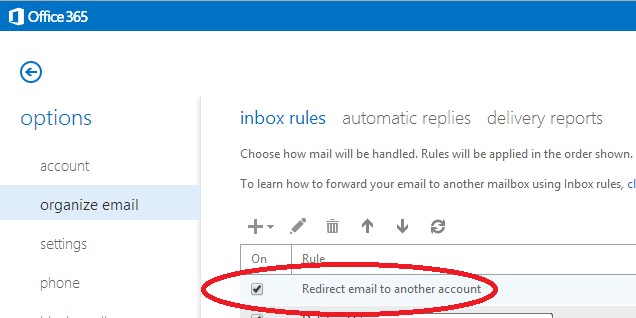
- Make sure there is a tick for the new rule. The rule is effective now. (If you want to turn off the rule, just un-tick it.)

Note:
- If an invalid email address is used, your emails will be lost.
- User should clean up the mailbox regularly. Otherwise, you may encounter problems when email usage has exceeded the quota limit.

